Imagine eating organically grown food from your backyard? It is possible, and I can guide you through the steps needed to produce food at your home.
Here are the prerequisites that can help you be successful at growing your own food:
- Put a priority on having high quality organic vegetables on your table
- Allocate a half-day every Saturday or Sunday and allowing 1-2 hours per day, 3 days a week
- Be prepared to fail and learn from it
- Be dedicated and learn how to compost food scraps and yard material
- Have a sense of commitment and passion every step of the way
- Enroll family and friends to participate as much as possible & make it fun
Here we go…..
Tools you need: Shovel, a 16-Tine Level Head Rake, basic hand shovel, stirrup hoe, a long handled pitchfork or a broad fork and gloves.
Step 1 – Measure and mark off your area with string and stakes. As a basic rule, each grow row is 36″W and each walk row is 15″-24″W and length depending on your space allocation.
Step 2 – Using a shovel, scoop out about 3″ – 4″W deep of soil from your 15″ – 24″W walk row and throw it into the growing row. Level and remove any additional soil, shifting it into the grow rows.
Step 3 – Aerate / Till the growing rows — Working backwards (so your not stepping on soft lifted soil), the pitch or broad fork is in front of you, take your entire body weight and standing with both feet on this tool going as deep as you can lifting the soil without turning it, just giving it air and light of day. This process should be repeated on all your rows.
Step 4 – Adding compost to your rows is essential. Get a delivery of composted soil mix from a landscaping material company. Making your own compost is extremely time consuming and a lot effort which we can address in another article, so for this spring just purchase your own. Apply a 4-6 inch layer on your rows then rake into the soil and groom your rows level by standing in the walk rows and reaching in making sure not to step on the grow row. You are now ready for plants. Normally I would lay down drip tape irrigation now, but for the sake of simplicity I will suggest you hand water and then use a lawn sprinkler and make sure it covers your garden area.
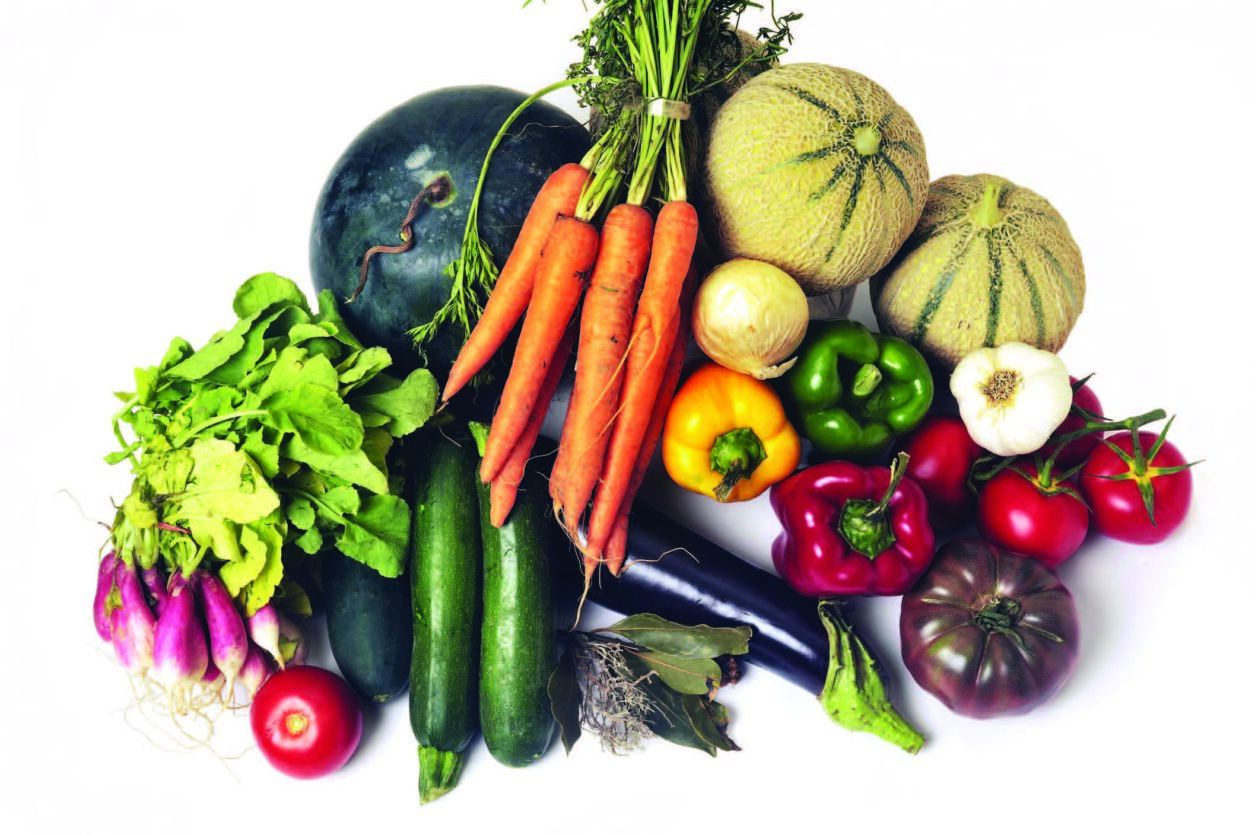
Step 5 – Selecting plants you want to grow — Here is my list of plants that are relatively easy to grow: Radishes (Watermelon & cherry), Carrots, Spinach, Kale, Swiss Chard, Sweet Corn, Collard Greens, Peppers (a variety red & green), Cilantro, Lettuce (spring mix, baby, full leafy heads, red & green), Eggplant, Tomatoes, Cucumbers, Potatoes (white, red & purple), Zucchini, String Beans, Watermelon, Rosemary, Bok Choy, Arugula, Basil, Parsley, Chives. I suggest getting seeds from Burpee, High Mowing or Johnnys. Get organic seeds, if not organic make sure seeds are always non-GMO.
Step 6 – Planning your garden — Here is a simple list of plants that need 12″-15″ of spacing, Kale, Swiss Chard, Collard Greens, Peppers, Bok Choy, Eggplant, Tomatoes, Cucumbers, Zucchini, String Beans, Watermelon, Basil, Parsley.
Here is a list of plants that require less spacing: 2″-3″ Radishes, Carrots, Spinach, Sweet Corn, Cilantro, Potatoes, String Bean, Arugula, Basil, Chives. Now that you know about spacing you can plan out the selection of pants you’d like to grow.
Step 7 – Direct sow and starting in trays — directly sowing seeds into soil is the most efficient way to grow plants: Carrots, Cucumbers, Radishes, Zucchini, String Beans, Arugula, Watermelon, Corn and Chives.
Follow the directions on the packet for the best time of year to plant. Have a bucket filled with compost by your side and drop a small handful and lightly level a little bit of compost by hand then with your finger or pencil eraser make a 1″-2″ holes or very carefully empty a few seeds into your palm and with your other hand carefully drop one seed into hole and lightly cover. Repeat that process for all direct seeding.
Purchase plastic planting trays along with organic potting soil; guesstimate how much you need (trays are cheap). Follow the same process as above for direct sowing, doing the same in trays. The key to germination is both heat and moisture. If it is cool outside, cover the area with clear plastic to heat up and keep warm. You need to water 1-2x per day depending on how warm the air is.
The plants are ready for transplanting after about 3-4 weeks. You will generally see they have grown a few inches or have healthy looking leaves. Magic happens the more love and attention you give the plants. Obviously there is much more to talk about but this should give you a great head start for spring planting.
Anyone who follows these directions and requires more assistance, email me at jl@marketingconsultantsink.com and I will arrange to call you with additional guidance.
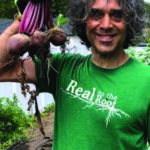 Farmer Joe Lapiana B.A. is an organic farmer practicing noncorporate, non-chemical ways of growing food for 12 years. His method of producing abundant compost is the cornerstone of his growing process. As a lifelong vegan, Joe’s focus has been to produce food that improves one’s quality of health. Being a self-taught plant-based chef has led him to not only master the kitchen but become a strong force in growing nutrient dense vegetables, for those in his community. Go to InstituteForNaturalLiving.