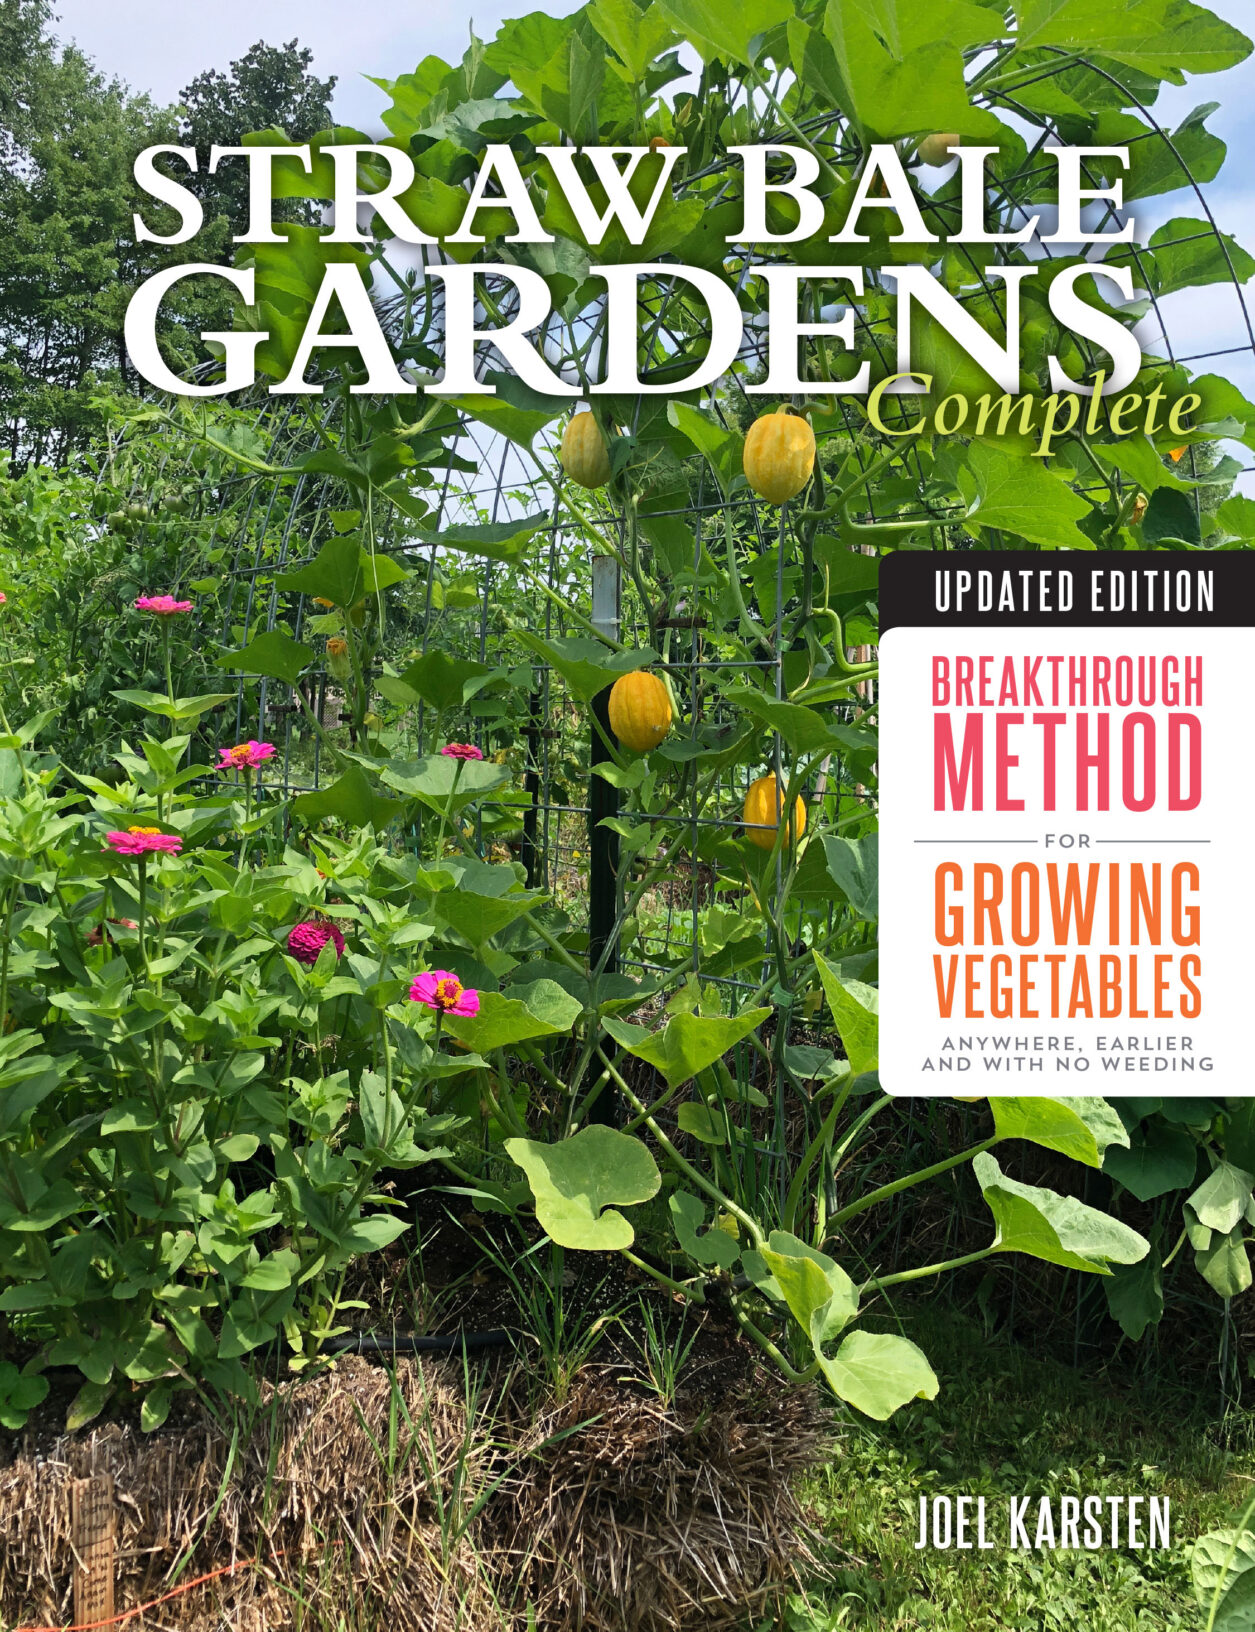
Straw bale gardening is a unique and innovative method for growing vegetables and herbs that has been gaining popularity in recent years. It involves using straw bales as containers for growing plants and offers several advantages over traditional gardening methods. There are a number of benefits of straw bale gardening, and a few things to consider before you get started.
Straw Bale Gardening offers several advantages over traditional gardening methods. One of the most significant benefits is that it allows you to grow plants in areas where soil quality is poor or nonexistent, Additionally, this can be an excellent option for those with limited space, as it is possible to grow a significant amount of produce in a small area. No tools are required for growing in bales, and the garden tends to be inexpensive to get started.
The plant roots grow entirely inside the straw bale. By the time the bales are planted, the interior of the bales has become early-stage soil from decomposed straw. The bale must go through a process called conditioning, which could also be described as composting or decomposition, for about two weeks prior to planting.
Another significant advantage of straw bale gardening is that it can be much easier on the gardener’s back than traditional gardening. Because the plants are growing in the bales, there is no need to bend over to ground level to plant or harvest. Weeds are rarely an issue in a bale garden because the bales harbor few if any weed seeds, and the heat generated during the conditioning process also tends to render any potentially viable seeds inert, so they won’t sprout. This can be especially beneficial for those with mobility issues or problems with knees and backs.
For anyone interested in growing a straw bale garden, the first step is to obtain some straw bales. Straw bales can be purchased from local farmers, garden centers, hardware stores or often through online sellers on Facebook or local ads. When selecting bales, be sure to choose ones that are as heavy and dense as possible. Lay a tarp down in a vehicle to protect it from any straw debris during transport. The same tarp also works well to slide a bale across the grass if carrying a bale is difficult.
Once the bales are secured they’ll need twelve to eighteen days of conditioning before planting. Conditioning the bales involves a process of adding water and a nitrogen source to the bales over the course of ten days. This process promotes the rapid colonization of bacteria and fungi inside the bales where rapid decomposition begins, creating a nutrient-rich growing medium for the plants.
To condition the bales, place them in the area where they will get full sunlight and where the garden will grow. Position them with the cut side facing up so the strings are not touching the ground. Begin by watering the bales thoroughly, and then add a high-nitrogen fertilizer, like BaleBuster (a product formulated specifically for Straw Bale Gardening), 2 cups of blood meal, ½ cup ammonium nitrate or ¼ cup urea, which are other high nitrogen options. Repeat this process every other day for ten days adding a gallon of water every day to each bale. After ten days the inside of the bales should have cooled from the 135–145 degree temperatures they will likely have reach during the process. Once the temperature drops below 105 degrees inside, the bales can be planted.
Seeds or seedlings can be planted directly into the bales, just as with a traditional garden bed. Use a thin layer of planting mix on top of the bales to make a seedbed for tiny seeds, like carrots or radish. Keep the bales moist with a soaker or drip system but don’t overwater. The biggest mistake new Straw Bale Gardeners make is overwatering. Too much water will leach soluble nutrients out of the bales and plants will yellow as they starve for nitrogen. Water in short spurts with small doses of one gallon per bale. Adjust the frequency of watering when needed, but don’t change the dose per application, keep it to a gallon each time.
To get the most out of your straw bale garden choose plants that are well suited to growing in bales. Avoid growing corn, rhubarb, asparagus, or acid loving plants like blueberries. Some great options include tomatoes, peppers, cucumbers, squash, beans, and herbs like basil and tarragon. Virtually any vegetable crop can be grown in bales, and the method works well in a wide variety of climates as well.
The biggest downside to Straw Bale Gardening is dealing with unsightly, half decomposed bales after the season. The best solution is to use them again, but it’s likely they will need to be reconnoitered to make a new bale. Wrap one used bale with chicken wire, and then stack another old bale on top and stomp it down. The new bale, now inside the chicken wire ring, will make a planting bed that is great for growing root crops or for planting early season crops. The second-year bales won’t need the conditioning process, so early planting is fine in a second-year bale.
The harvest of root crops is easy in a Straw Bale Garden, with no digging they come out clean and can go straight into storage. Production of other vegetable and herb crops will meet or exceed the volume per plant as in traditional soil gardens. Don’t be surprised if neighbors stop by to inquire about this new method of gardening in bales. The bales will be conspicuous and the tomatoes and cucumbers hanging from the vines will inspire many curious onlookers to find out more.
 Thirty years ago, Joel Karsten, a horticulturalist from the University of MN, pioneered a unique method for growing vegetables in bales of straw. Joel has written five best-selling books on the subject, now translated into many languages. He has traveled extensively to spread his method worldwide including a presentation to the United Nations and a popular TED talk. Straw Bale Gardening offers tangible hope for people in some of the poorest places on earth, to simply grow their own food successfully.


